
Today's post will deal with a topic that was requested by one of our regular readers: how to identify mesh patterns in wove paper and weave direction.
None of the standard or specialized catalogues devote much attention to distinguishing differences in wove paper. However, this has begun to change, with Unitrade beginning to list the vertical and horizontal ribbed paper types on both the 1954-62 Wilding Issue and the 1972-1977 Caricature and Landscape Issue. In reality, most issues of Canada exhibit some differences in either the direction of the paper weave, or in the presence or absence of surface ribbing. In my humble opinion, these differences are every bit as important or collectible as the difference between laid paper and wove paper on Canada #1 & #4 as well as #25 & #33.
I will attempt in this post, to explain how to identify the differences in paper weave direction and how to determine if a paper is ribbed or not.
Lets take a look at a typical stamp. The stamp shown below is the 1c green from the 1928-1929 Publicity issue.
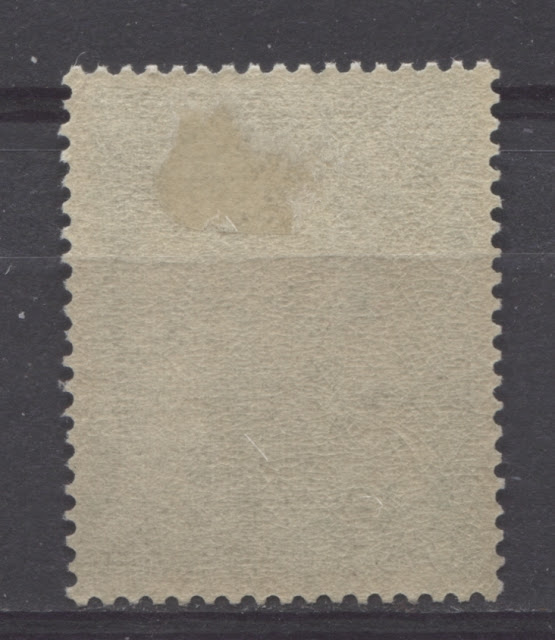
Initially this stamp paper looks perfectly smooth and there is no apparent direction in the paper weave. But study the paper closely, and you will see some very small dark spots in the paper. They are just a bit darker than the rest of the paper. These are the thin areas in the paper which are caused by gaps in the wire mesh upon which the paper slurry was laid before being dried and pressed. Once you can begin to see these spots, you will begin to notice a pattern. On this stamp the dark spots are oval shaped and they all point upwards in the same direction. This means that the wire mesh was arranged in such a way that the gaps all point upward. Paper made in this manner is commonly referred to as vertical wove paper, or wove paper with vertical mesh. When the spots point in the horizontal direction, then the paper is referred to as horizontal wove paper.
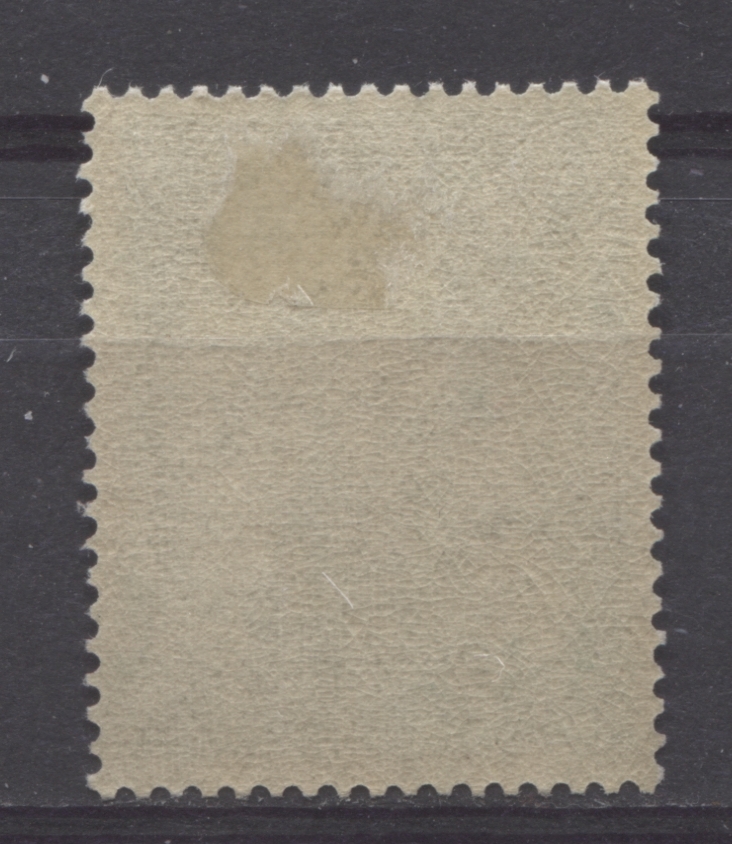
You can hopefully see the vertical pattern more clearly on this stamp:

This is the 2c from the same set.
There are four different techniques that you can use to identify the direction of the paper weave:
1. Use a Watermark detector
2. Lay the stamp face down on a black surface.
3. Gently bend the stamp between your thumb and index finger.
4. Hold the stamp up to a strong light source and look through it.
I will now discuss each one briefly.
Watermark fluid will usually show up the mesh in the paper quite clearly, though watermark fluid is quite expensive and if you have a lot of stamps to check it can become prohibitive. The electric Signoscope watermark detector from Lighthouse can work quite well because it is really using backlightling, the same as just holding the stamp up to the light. However, I find using the Signoscope to be quite cumbersome because you have to remove the glass block, place the stamp under the glass, replace the block, tighten the lever and then adjust the light settings. For less than 10 stamps it is not a big deal, but if you are looking at 100 or 1000 stamps, it becomes a lot of work.
Laying the stamp face down on a black surface will work for thin papers, and will show the mesh quite obviously. However most papers of moderate thickness will appear as in the above scans. This is fine if you have sharp eyes and can see the direction of the mesh quite readily. The advantage to this method is it is simple, quick and requires no special equipment.
Another method you can use requires care to avoid damaging the stamp, but can be quite effective. When a stamp is printed on vertical wove paper, the paper will be stiffer in the vertical direction than in the horizontal direction. So if you blow a bit of moisture from your breath onto a mint vertical wove stamp, it should curl gently from side to side. Likewise if you have mint stamps that have already curled slightly, pay attention to the direction of the curl. If it is side to side, then your stamp is on vertical wove paper and if it is from top to bottom, then the paper is horizontal wove. If the stamps are used or do not curl, then you can take the stamp and carefully hold it between your thumb and index finger, with you fingers touching the very edge of the perforations on each side. If you gently squeeze you fingers together so as to gently bend the stamp without creasing it, you can gauge the amount of resistance you encounter as you bend. Test the stamp in both directions and you will notice that you encounter more resistance in one direction than you do in another. If the greater resistance is in the top to bottom direction, then you have a stamp printed on vertical wove paper. On the other hand, if the greater resistance is in the side to side direction, then the stamp is printed on horizontal wove paper.
The last technique I find to be the fastest and most effective for checking a large volume of stamps. For this technique I find that a good desk lamp turned with the bulb facing out works quite well. Simply take the stamp and hold it up to the light with your tweezers and look through it. The mesh pattern will usually become quite obvious, though occasionally you will see stamps that have no apparent mesh pattern, such as some late printings of the 1942-48 War Issue and the 1954-62 Wilding Issue. For those, it is best to employ the third test above.
The above covers the weave pattern. But what about ribbing?
Generally, the best way to discern this is to look at the stamp at an oblique angle with a strong light source nearby, and twirl the stamp with your tweezers until the ribbing becomes visible as a pebbling of the surface or looks woven. Generally most papers that are not ribbed, have a completely smooth surface and this is apparent both when the stamps are viewed dead on and when viewed at an angle. However, although ribbed papers can appear smooth when viewed dead on, they become quite obvious when viewed at an angle to the light source. It is important to check both the front and the gummed side as well, since some ribbed papers are only ribbed on the front, or the back, while others are ribbed on both sides. Unitrade makes no distinction between these, but again I believe that in time, these differences will eventually be recognized as significant. The modern stamp issues on which ribbing is commonly found includes:
None of the standard or specialized catalogues devote much attention to distinguishing differences in wove paper. However, this has begun to change, with Unitrade beginning to list the vertical and horizontal ribbed paper types on both the 1954-62 Wilding Issue and the 1972-1977 Caricature and Landscape Issue. In reality, most issues of Canada exhibit some differences in either the direction of the paper weave, or in the presence or absence of surface ribbing. In my humble opinion, these differences are every bit as important or collectible as the difference between laid paper and wove paper on Canada #1 & #4 as well as #25 & #33.
I will attempt in this post, to explain how to identify the differences in paper weave direction and how to determine if a paper is ribbed or not.
Lets take a look at a typical stamp. The stamp shown below is the 1c green from the 1928-1929 Publicity issue.
Initially this stamp paper looks perfectly smooth and there is no apparent direction in the paper weave. But study the paper closely, and you will see some very small dark spots in the paper. They are just a bit darker than the rest of the paper. These are the thin areas in the paper which are caused by gaps in the wire mesh upon which the paper slurry was laid before being dried and pressed. Once you can begin to see these spots, you will begin to notice a pattern. On this stamp the dark spots are oval shaped and they all point upwards in the same direction. This means that the wire mesh was arranged in such a way that the gaps all point upward. Paper made in this manner is commonly referred to as vertical wove paper, or wove paper with vertical mesh. When the spots point in the horizontal direction, then the paper is referred to as horizontal wove paper.
You can hopefully see the vertical pattern more clearly on this stamp:

This is the 2c from the same set.
There are four different techniques that you can use to identify the direction of the paper weave:
1. Use a Watermark detector
2. Lay the stamp face down on a black surface.
3. Gently bend the stamp between your thumb and index finger.
4. Hold the stamp up to a strong light source and look through it.
I will now discuss each one briefly.
Watermark fluid will usually show up the mesh in the paper quite clearly, though watermark fluid is quite expensive and if you have a lot of stamps to check it can become prohibitive. The electric Signoscope watermark detector from Lighthouse can work quite well because it is really using backlightling, the same as just holding the stamp up to the light. However, I find using the Signoscope to be quite cumbersome because you have to remove the glass block, place the stamp under the glass, replace the block, tighten the lever and then adjust the light settings. For less than 10 stamps it is not a big deal, but if you are looking at 100 or 1000 stamps, it becomes a lot of work.
Laying the stamp face down on a black surface will work for thin papers, and will show the mesh quite obviously. However most papers of moderate thickness will appear as in the above scans. This is fine if you have sharp eyes and can see the direction of the mesh quite readily. The advantage to this method is it is simple, quick and requires no special equipment.
Another method you can use requires care to avoid damaging the stamp, but can be quite effective. When a stamp is printed on vertical wove paper, the paper will be stiffer in the vertical direction than in the horizontal direction. So if you blow a bit of moisture from your breath onto a mint vertical wove stamp, it should curl gently from side to side. Likewise if you have mint stamps that have already curled slightly, pay attention to the direction of the curl. If it is side to side, then your stamp is on vertical wove paper and if it is from top to bottom, then the paper is horizontal wove. If the stamps are used or do not curl, then you can take the stamp and carefully hold it between your thumb and index finger, with you fingers touching the very edge of the perforations on each side. If you gently squeeze you fingers together so as to gently bend the stamp without creasing it, you can gauge the amount of resistance you encounter as you bend. Test the stamp in both directions and you will notice that you encounter more resistance in one direction than you do in another. If the greater resistance is in the top to bottom direction, then you have a stamp printed on vertical wove paper. On the other hand, if the greater resistance is in the side to side direction, then the stamp is printed on horizontal wove paper.
The last technique I find to be the fastest and most effective for checking a large volume of stamps. For this technique I find that a good desk lamp turned with the bulb facing out works quite well. Simply take the stamp and hold it up to the light with your tweezers and look through it. The mesh pattern will usually become quite obvious, though occasionally you will see stamps that have no apparent mesh pattern, such as some late printings of the 1942-48 War Issue and the 1954-62 Wilding Issue. For those, it is best to employ the third test above.
The above covers the weave pattern. But what about ribbing?
Generally, the best way to discern this is to look at the stamp at an oblique angle with a strong light source nearby, and twirl the stamp with your tweezers until the ribbing becomes visible as a pebbling of the surface or looks woven. Generally most papers that are not ribbed, have a completely smooth surface and this is apparent both when the stamps are viewed dead on and when viewed at an angle. However, although ribbed papers can appear smooth when viewed dead on, they become quite obvious when viewed at an angle to the light source. It is important to check both the front and the gummed side as well, since some ribbed papers are only ribbed on the front, or the back, while others are ribbed on both sides. Unitrade makes no distinction between these, but again I believe that in time, these differences will eventually be recognized as significant. The modern stamp issues on which ribbing is commonly found includes:
- Some of the 1935-38 issues are found on paper with a distinct horizontal ribbing, which is most obvious on the gum of mint stamps printed on this paper.
- Many stamps printed between 1950 and 1957 are printed on a paper with horizontal ribbing that can be visible either on the front, back or both sides of the paper. The strength of the ribbing varies from light to very strong.
- The issues printed from 1958 to 1962 are often found on vertical wove paper that is smooth on the face, but shows very light vertical ribbing on the gum.
- The landscape definitives printed prior to 1974, and some of the commemoratives like the 1972 Plains Indians and 1971 Pierre Laporte are printed on a chalk-surfaced paper that shows distinct vertical ribbing.
- Some of the late printings of the 1c, 2c, 6c, 8c and 10c Caricature definitives from 1977 and the 2c Western Columbine stamp can be found on paper that shows distinct vertical ribbing on the gummed side.
This concludes my discussion of the subject of paper ribbing and paper weave. Hopefully you found it helpful.
3 comments
Hi Brad
The weave is the direction in which the wire frame on which the pulp is placed runs. when the paper is being manufactured, whereas the mesh is what is often visible as “grain” to the naked eye. The mesh will usually run in the same direction as the weave and is indeed caused by gaps in the mesh. Watermarks are actually impressed into the paper by dandy rolls that contain the watermark design, during manufacture as a separate operation.
You can tell the weave of the paper by how easily it bends in one direction relative to another. So horizontal wove paper will bend easily from top to bottom, but will be stiffer and more resistant to bending from left to right. The opposite will hold true for vertically wove paper.
Hi Chris,
This is certainly a great resource, and I often come here to remind myself about the weave and the mesh. To be honest, even after reading your post 30 times, I am not sure I understand the difference between weave and mesh. Perhaps they are the same thing? Can you explain?
What also confuses me is often times in your listings, you will write, for instance, “Vertical Wove with no visible mesh”. I wonder though, if you cannot see the mesh, how do you know it is vertically wove?
Lastly, you write that the mesh pattern is created by the gaps in the continuous wire mesh. I thought that it was the highest point of the weaved mesh, that created the thin spot on the paper, which would also explain why a watermark design is wired into the mesh, and creates a high spot.
I am not trying to contradict, only understand. I never thought much of the paper until I started buying from you. Now, it is always in the back of my mind but despite reading what I can, I never quite feel confident about it when I start looking at my own stamps.
Great, I read some of your articles.
Realy great way to see and analise.
I am surprise also that an collector and in the same time dealer bring to the others collectors and to the public so many details kiped secrets.
I am an collector of stamps, coins, bank notes, porcelain, paints and antic furnitures (more asiatic).
After reading fews of yours studies I can say “chapeau” french expression.
When I will finish all those publish articles, I will come back to you with my personal oppinion and also with my own studies.
Please do not stop, with people like you the history and the the sweeteness of hobby will never be blow in the wind.
See you soon
Please agree all my bests,
Silvio