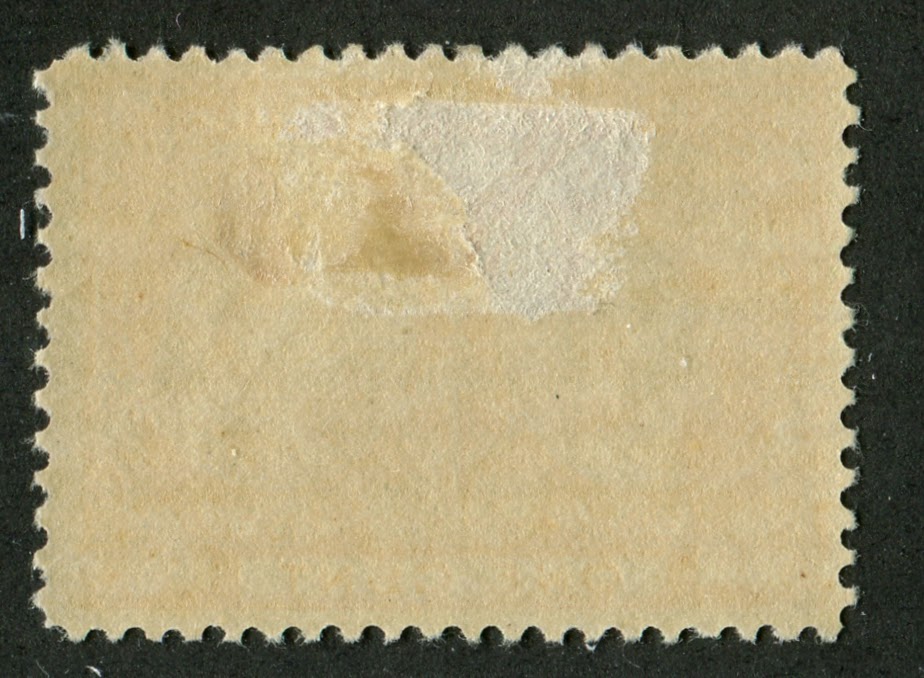
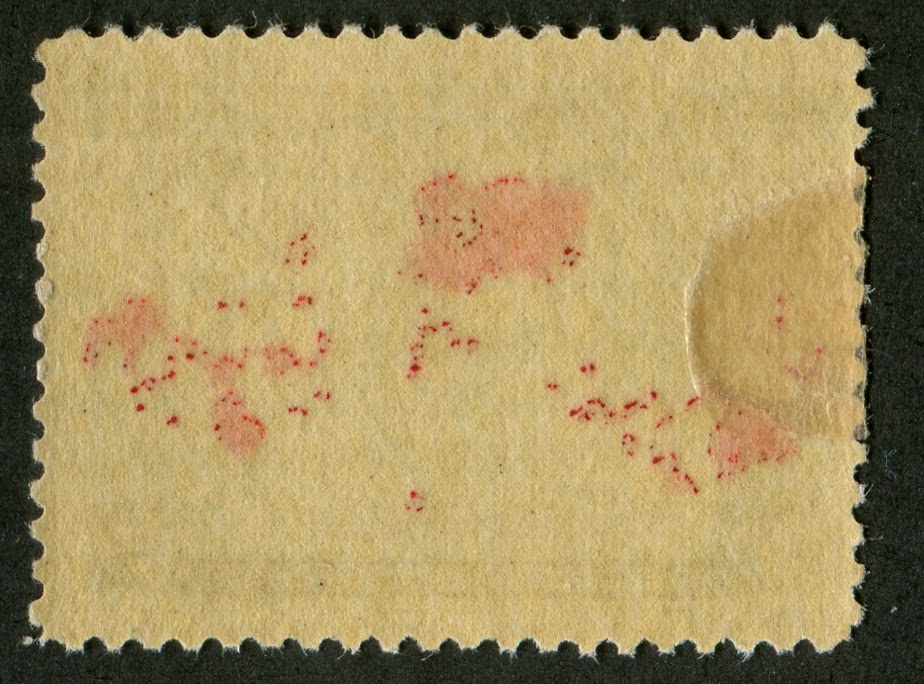
On the above Canadian stamp, someone has used a piece of selvage from an early German stamp issue as a hinge. There is no way to safely remove this except with a scalpel.
Techniques to Removal of Hinges Safely
There are two techniques that I have used to safely remove hinge remnants from stamps:
1. Rubbing and Peeling
Place the stamp face down on a firm but soft surface where it will not slide, like the back of a stock card and hold it down close to the hinge remnant with either your index or middle finger. Holding your tongs in your right hand (use wide rounded tips for this), in the closed position, place the wide tip on the hinge remnant and press firmly down. Then keeping the pressure on, begin moving the tongs in a circular motion. Move in very small, controlled and tight circles. If your movements are uncontrolled or too wide, you will suddenly crease or tear the stamp. After a about 30 seconds or a minute you should see the parts of the hinge remnant begin to loosen. Then you can get your tongs underneath it or otherwise begin breaking it off. Once a portion has completely loosened, simply peel it off. Watch very carefully to ensure that the hinge has completely detached before removing it, as you can still thin the stamp at this point.
You will often see that what appears at first to be a single hinge is in fact, several layers of hinge. Generally 1 or two layers can be removed very safely using this technique, but once you get more than two layers what often happens is that the bottom layers won't come off safely using this technique because the hinge has fully bonded with the stamp paper. If you do not see the hinge remnant begin to flake, lift or peel after 2 or three minutes of rubbing, then this technique is not likely to work and you should stop. Excessive rubbing and pressure will damage the stamp.
2. Scraping with a Scalpel
You need a razor sharp scalpel for this technique. I like scalpels because of the rounded edges on the blades, which reduce the risk of accidentally piercing the stamp. You place the stamp face down on a non slip soft surface as above and placing the sharp edge of the scalpel on the highest point on the hinge remnant, begin very gently moving it back and forth to shave down the hinge remnant. Do not, whatever you do, start at the lowest point (i.e. at the corners of the hinge), otherwise you are liable to slice right through the stamp.
This technique takes an incredible amount of patience - sometimes 2 hours on a single stamp. Often it does not result in the complete removal, but merely improving the appearance to the point where it is worth doing.
How to Tell Which Hinges Can Be Safely Removed
There are several factors to consider in deciding whether or not to remove a hinge remnant from a stamp:
1. What type of paper is the stamp printed on?
Good quality, stout wove papers that have some plate glazing or surfacing are the best for hinge removal. Plate glazing is a process where the paper is passed through rollers that effectively polish the print surface. The result is that the paper is very compact and firm with no loose fibres. This type of paper stands up very well to hinge removal. The best example of this type of paper is that used by De La Rue, Waterlow, Harrison, Perkins Bacon, and Bradbury Wilkinson on British Commonwealth Stamps.
Soft papers that contain loose fibres, regardless of how thick the paper may seem to be are not good candidates for safe hinge removal:
Most Canadian stamps prior to the late 1940's are poor candidates for hinge removal. Newfoundland is an exception because the stamps were mostly printed by Waterlow, Perkins Bacon and De La Rue. The dry printings of the Admirals from 1924 through to the 1934 Loyalists issue are a safer bet. The paper used during this period is much more resilient to hinge removal. Between 1935 and 1948 some of the papers used are harder and firmer and hinges can be removed with no problem, but there is a soft vertical wove paper used for these issues that thins quite easily unless you are very careful when removing the hinges.
Early Australian stamps are much the same as Canada, with many papers being soft. Generally once you pass the third watermark of the Kangaroos it becomes safer to remove hinges. But great care must be taken on those early stamps.
Most US stamps are fine, except the soft papers of the Banknote period, where great care must be taken in removing hinges.
2. How many layers of hinge are there?
Generally if there is one or two layers of old glassine hinge, then you have a reasonably good chance of being able to remove all the remnants without damaging the stamp, subject to my comment on paper above. But once you get to three or more layers, your chances of being able to remove them all get slimmer and slimmer.
3. Where on the stamp are the hinge remnants located?
It is safest if the remnant is firmly in the middle of the stamp. If it is touching the perforations or covering them, it is probably best not to attempt to remove it because your odds of losing the perforations or thinning them is very high. If you can tell that it is not bonded to the perforations and just extends over them then you might be able to try removing it starting from the middle of the stamp. Occasionally a remnant like that will loosen to the point where it just peels off and even though it looks like it was on the perforations, it comes away without affecting them. The key is that if you get to the perforations and there is any resistance at all then the removal attempt must be curtailed.
4. Is the stamp completely sound before removal?
As I said before, sometimes hinges were used to hide thin spots or tears, so it may be a good idea to immerse the stamp in watermark fluid to see if there are any hidden faults under the hinge remnant that will be made worse with removal. Thin spots will continue to show up as dark patches and creases or tears as dark lines.
If the stamp is damaged underneath the hinge, leave it alone and just disclose the fault to the buyer.
5. What type of hinges are involved?
Paper hinges and selvage or other home-made hinges should only be removed by someone with experience using a scalpel who has successfully tried it on other stamps. You have to be prepared to spend hours on a stamp. If you rush, you will damage the stamp guaranteed.
If they are small to medium sized glassines, they should come off with rubbing and peeling. You shouldn't need to use a scalpel with them unless there are many layers. If they are larger glassines and have fully bonded with the stamp paper, then they should only be removed by someone experienced in using the scalpel technique.
Good luck with your stamps, and please be careful! A sound stamp with a hinge in my opinion is better than a damaged stamp without one.